Helpful answers from Seattle Water Damage Restoration Services
Frequently asked questions
Simple explanations about water damage restoration, mold services, and odor removal so you know what to expect before work begins.
Frequently Asked Questions
What should I do first when I discover water damage?
First steps
- Stop the water at its source if you can do so safely.
- Avoid electrical hazards. Do not step into standing water near outlets or appliances.
- Move loose valuables and light furniture out of the wet area.
- Photograph and video the affected rooms, including close‑ups of damage.
- Do not rip out materials or aim fans at suspected mold; that can spread spores.
What happens next
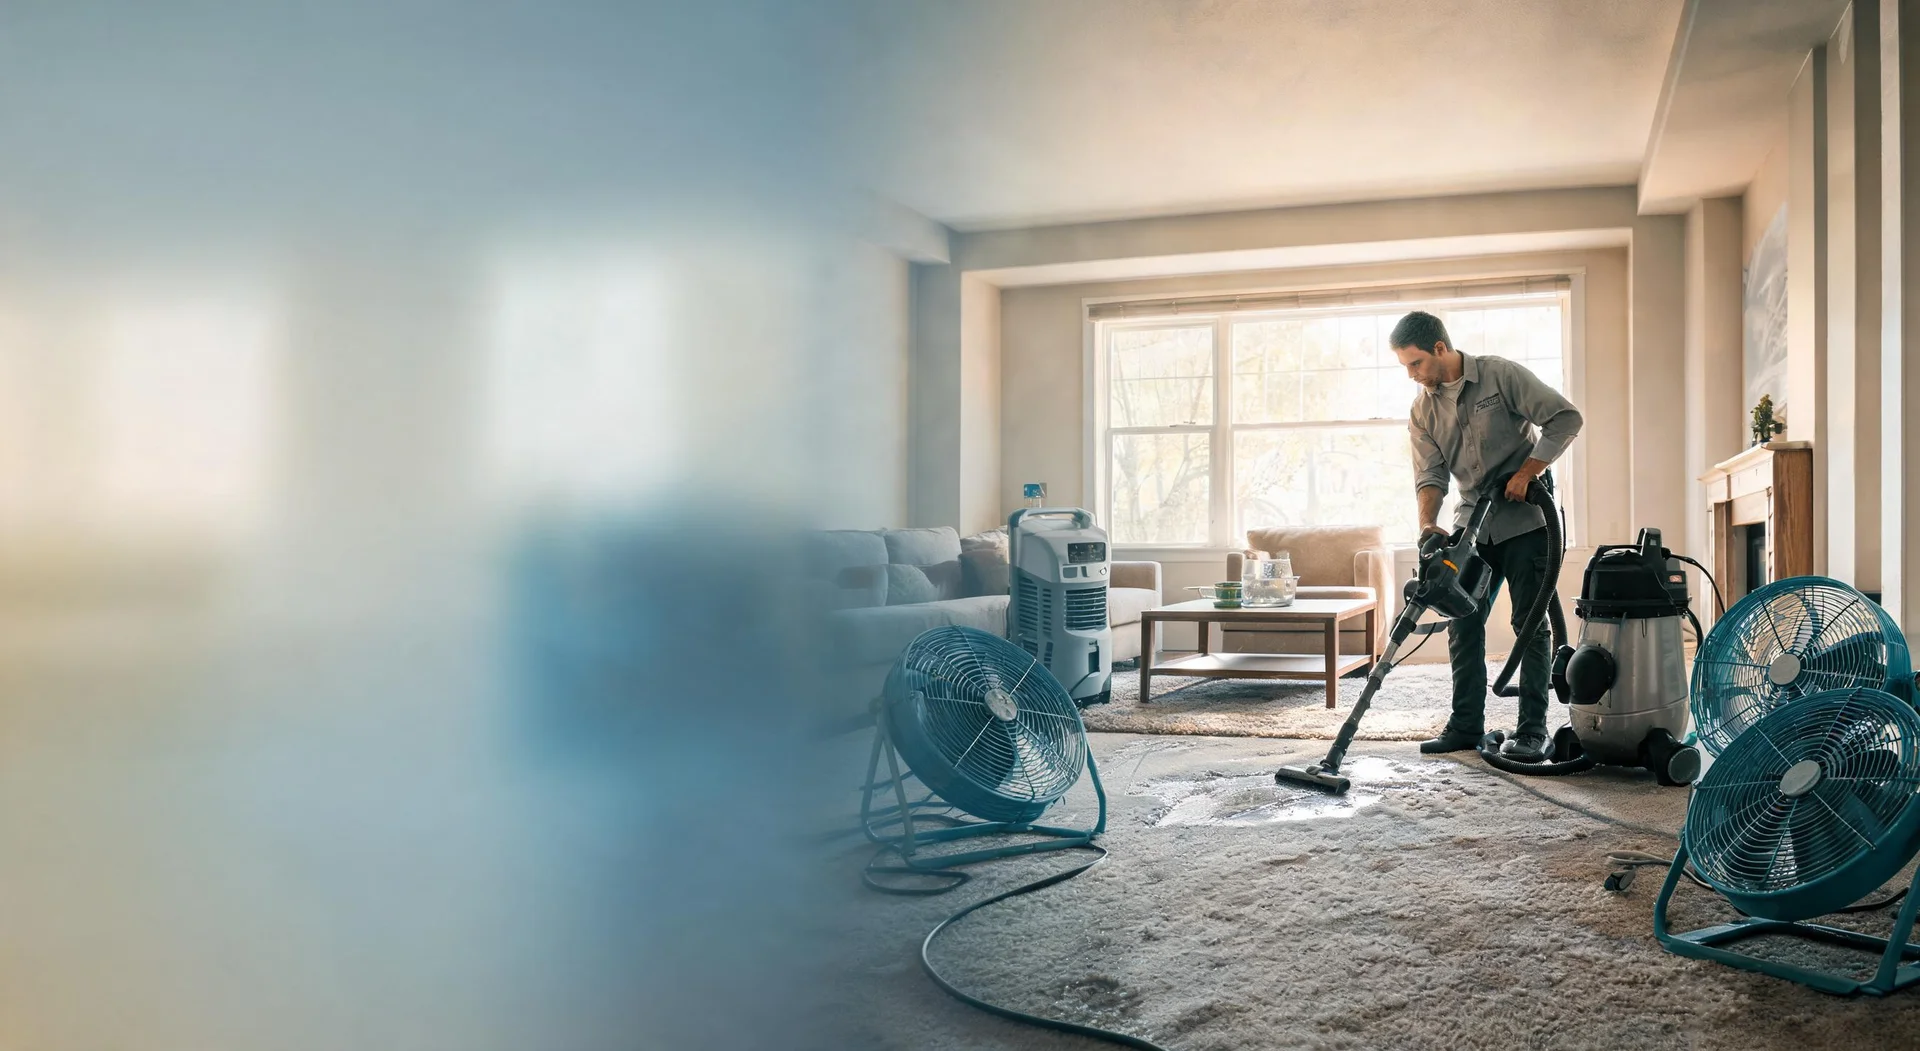
A restoration contractor will inspect for safety, identify the water category (clean, gray, or black), and map the moisture using meters and thermal imaging. They’ll extract standing water, set up containment if needed, and start a drying plan with air movers and dehumidifiers. Daily moisture readings guide adjustments until materials reach target dryness. If structural issues or hidden pockets of moisture are found, controlled demolition may be recommended to prevent future mold.
How long does water damage restoration usually take?
Typical timeline
- Initial inspection and water extraction: same day
- Structural drying: often 2–5 days for clean water events
- Cleaning and disinfection: varies by contamination level
- Repairs/rebuild: scheduled separately and depends on scope
What can affect timing
Several factors influence duration: how saturated materials are, the type and thickness of building materials (hardwood, plaster, and insulation dry more slowly than drywall), indoor humidity and temperature, access to affected cavities, and whether contamination (gray or black water) requires extra cleaning steps. Daily monitoring is important; technicians record moisture levels and adjust equipment to speed progress without damaging materials. Once targets are met, equipment is removed and the space is ready for repairs such as drywall, flooring, and paint. Large losses or contamination can extend timelines, while quick response and good airflow usually shorten them.
Can I stay in my home during cleanup and drying?
Safety and comfort
For many clean-water incidents, you can remain at home. Expect steady airflow and white noise from air movers and dehumidifiers. Technicians may set plastic containment to isolate work zones and protect unaffected rooms. If you have infants, elderly family members, pets, or sensitivities to noise or dust, discuss options for minimizing disruption.
When relocation makes sense
Temporary relocation is often recommended for sewage backups (black water), extensive demolition, or when negative air containment is required across large areas. Work areas may be off-limits during certain steps, and utilities could be temporarily shut off. If asbestos or lead paint testing is required in older homes, clearance steps may add time before spaces are safe to reoccupy. Your contractor will explain risks, ventilation plans, and how to maintain daily routines as comfortably as possible.
Do you work with insurance, and what should I document?
Your to‑do list
Mitigate further damage as soon as it’s safe. Photograph each affected room from multiple angles and capture close‑ups of damaged finishes and belongings. Keep receipts for urgent expenses like water shut‑off, temporary lodging, or protective materials. Note when the issue was discovered and what caused it, if known.
How contractors coordinate
Many restoration contractors can provide detailed moisture maps, daily dry logs, and itemized scopes that carriers request. Coverage decisions are made by your insurance company and depend on your policy and the cause of loss (sudden and accidental issues are commonly covered; long‑term seepage often is not). You’ll typically sign a work authorization so mitigation can start promptly; the scope and any future repairs are documented as the job progresses. Contractors in the Seattle Water Damage Restoration Services network are familiar with insurer documentation requirements and standard restoration practices.
What’s the difference between mold remediation and mold removal?
Mold removal
This is the physical act of taking mold off surfaces; through HEPA vacuuming, damp wiping, abrasive methods, or discarding unsalvageable materials. Removal alone doesn’t address why the mold appeared.
Mold remediation
Remediation is a complete plan to return the indoor environment to normal fungal ecology. It includes finding and fixing moisture sources, isolating the work area with containment, running negative pressure and HEPA air filtration, removing contaminated materials safely, and cleaning nearby dust. Moisture control is the long‑term solution; without it, mold can return. After work is complete, an optional third‑party clearance inspection or testing may verify results. The goal is a clean, dry space; not a promise of “zero mold,” which isn’t realistic in normal indoor air.
How does professional mold testing work?
Inspection and tools
An assessor starts with a visual inspection, moisture mapping, and sometimes thermal imaging to look for hidden damp areas. Testing isn’t always required when visible growth and a clear moisture source are present, but it can help confirm conditions, establish a baseline, or document clearance after remediation.
Common sample types
- Air samples compare indoor spore levels to an outdoor control
- Surface swabs or tape lifts identify what’s on a material
- Inner-wall samples may be taken when cavities are suspected
Samples are logged with chain‑of‑custody and sent to an accredited lab. Results identify mold types and relative concentrations, which are then interpreted in context with the inspection. Findings help guide whether cleaning, removal, or broader moisture fixes are needed.
What is thermal fogging odor removal and when is it used?
How it works
Thermal fogging turns a deodorizing agent into ultra‑fine droplets that behave like smoke particles. The dry fog reaches into porous materials and tiny cracks where odors linger after water damage, mildew, fire/smoke, or pet accidents. It’s most effective after the primary odor source is removed and surfaces are cleaned.
Preparing your space
Food, dishes, and aquariums should be protected or temporarily moved. People and pets must be out of treated areas during application and initial ventilation. Fabrics and soft goods may be targeted for additional treatment if they hold odors. Light residue, if any, is wiped during post‑ventilation cleanup. Many odors improve within 24–72 hours, though severe cases can require layered methods, such as sealing affected materials or using ozone or hydroxyl under professional controls.
What equipment is used for structural drying and why?
Core tools
- High‑velocity air movers speed evaporation from wet surfaces
- Dehumidifiers (LGR or desiccant) remove moisture from the air
- HEPA air scrubbers help reduce airborne particles when demolition or microbial risk exists
- Containment and negative air limit cross‑contamination
- Moisture meters and thermal cameras verify progress and locate hidden damp areas
What to expect in your space
Technicians may remove baseboards, drill small “weep holes,” or open cavities to release trapped moisture. Equipment often runs continuously to maintain drying conditions; turning machines off can extend the timeline or cause setbacks. Daily readings track materials back to target levels before equipment is removed. Once dry, the area is ready for repairs like insulation replacement, drywall, trim, primer, and paint. This coordinated approach helps prevent secondary damage such as swelling, odors, or mold growth.
How much do your services cost?
Pricing depends on the size and scope of the job. You can find approximate costs of these services here.
Contact Us Today for a Free Estimate
Protect your home and prevent ongoing water damage.
Schedule your water damage restoration service today.
Free — no obligations